Sunday, September 30, 2012

Best Ever Chocolate Mexicano- Mexican Hot Chocolate

Parting is such sweet sorrow......no truer words were spoken, especially if you are part of a ultra fun cooking club.

 I found the I heart cooking club by chance, what are the odds that a cooking club that features many different chefs at any given month was featuring the chef I idolize as a " culinary rock star" during the month I stumbled upon it?! I have no question that it was meant to be, especially since I've been meaning to give Rick Bayless' recipes a try but somehow other recipes have gotten in the way. So now the end is here and the cooking club is moving on to a new chef, I will continue my lance de amor pron: lohn-say day- ah-more ( love affair) see doesn't lance de amor sound so much sweeter than just a plain old love affair!


Upholding my belief that everything sounds so much better en Espanol! Okay with that said, here are a few of my favorite Rick recipes so far. This last one is my final entry, which is hands down my favorite one. It's simple and sweet, no fuss no muss just a super easy recipe that leaves you thirsty for more.......literally.

I have always heard how rich and delicious Mexican Hot Chocolate was, but perhaps the fact that I didn't own a molinillo (a traditional turned Mexican wooden whisk) was a deterrent.


I felt like to make an authentic cup of Mexican Hot Chocolate the molinillo was a must, but I finally conceded and decided to give it a try. With my wooden spatula in hand, I stirred the huge cinnamon infused chocolate tablet until it transformed into hot froththy wonderfulness.


Estoy tan feliz(I'm so happy)that I did, my chicas couldn't stop drinking it and giving me praise for all my hard work!


With the last drop sipped, and the chill of fall in the air,we as a familia dubbed Mexican Hot Chocolate our official winter drink...but not until one my chicas suggested that we add a few marshmallows and a splash of cinnamon..leave it to my chicas to add a little American flair! Maybe their on to something.....next time perhaps I will add a little American spirits! Salud ♥


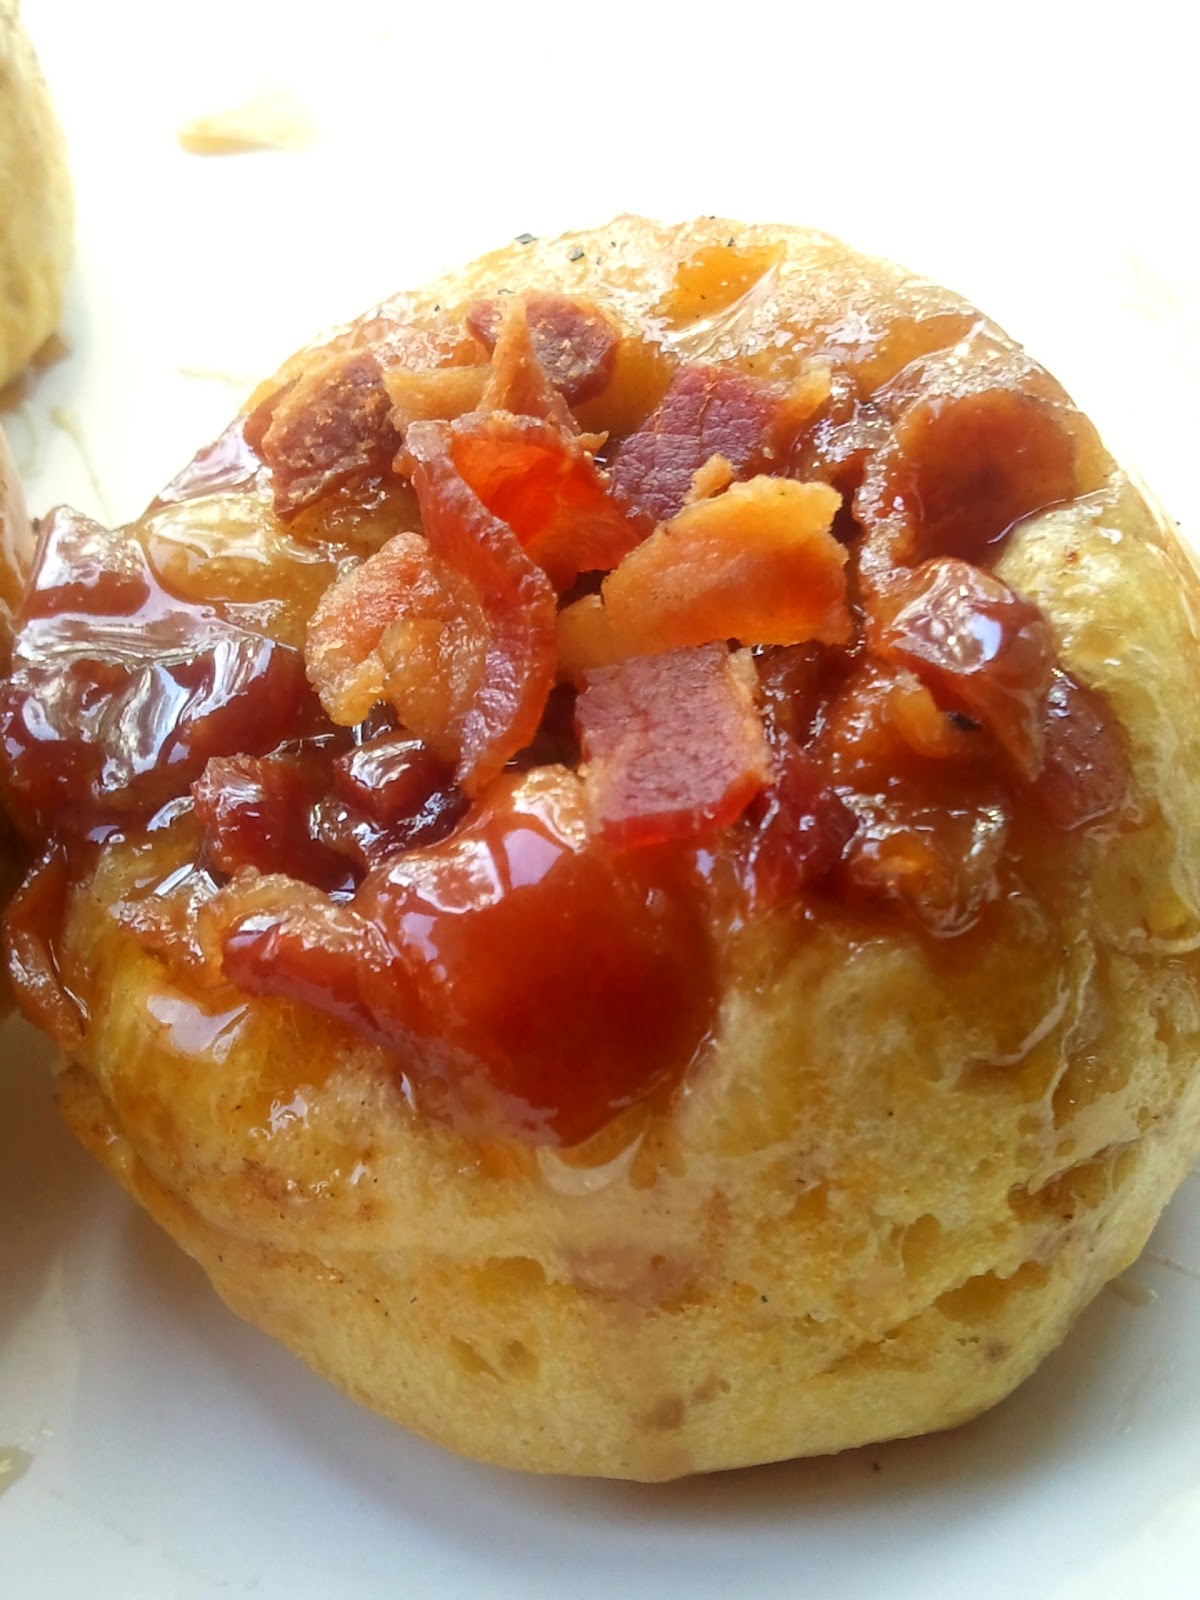
Mexican Challah Grilled Cheese, this was so rich and creamy, I can see this sandwich showing up muchas veces ( many times) in my casa!


Raspberry Rosita- Raspberry-Lemonade Corona helped sweeten my relationship with beer, a refreshing summertime sipper you won't want to put down!


I love the taste of this Dulce Cajeta, it's suave (smooth), dulce (sweet) and perfect on almost anything!


Adapted from Rick Bayless’ Mexico One Plate at a Time (Mexican Hot Chocolate)

  Ingredients

2 1/2 cups milk or water

1 tablet 3.3oz Mexican Chocolate -( Ibarra or Abuelita, found in the Hispanic grocery aisle)

Optional- Marshmallows and sprinkle of cinnamon


Recipe

Combine 2 ½ cups milk or water and 1 tablet 3.3oz of coarsely chopped Mexican chocolate, such as Ibarra, in a 2-quart saucepan; stir over medium heat until mixture is steaming hot and the chocolate more-or-less dissolved (there will still be small pieces). Pour into a blender or you can usea hand held immersion blender and tall pitcher. If using a blender, loosely cover or remove lid’s center piece to eliminate pressure build-up; blend until mixture is foamy, about 30 seconds. Pour into cups. Serve immediately.

Makes 2 1/2 cups approx or four 6-ounce servings.

Friday, September 28, 2012

Chocolate Chip Cajeta Pretzel Bars

Chocolate Chip Cookies solitas ( all alone) are unquestionably my absolute favorite dessert.....ever. If I'm at a party with one of those super cool, absolutely delicious buffet style dessert tables, my eyes always scan the length of it looking for a soft and chewy brown sugar chocolate chip studded yumminess.

Somehow my feelings about chocolate chip cookies have advanced into a new kind of  amor (love) just by adding two simple ingredients....... Salted Pretzels and Cajeta. Now you may remember a few weeks back I made my own homemade  Mexican Cajeta, if you've never seen it you can find the recipe here. 

So believe it or not as enticing as it was, I still had a little bit of cajeta left  over. I couldn't bare to see it go to waste so I came up with a quick recipe to put it to good use, the result was a rich bar of, sweetness with a creamy gooeyness in the middle, spiked with a salty crunch.


Ummm and did I say all of this was stuffed in the middle of a chocolate chip cookie. No mas palabras necesario ( no more words needed) just a boca ( mouth )full of happiness!


This time I kept it super easy and used my most favorite ready made cookie dough in all the land!  This cookie dough tastes so good, it has been known to cause epic arguments in my casa about who ate the last batch....true story!


If you have a go to chocolate chip cookie recipe feel free to use it, if not here is one that sounded pretty good to me!


Ingredients

1 batch of chocolate chip cookie dough

1 cup of crushed salted pretzels

1 jar of Mexican Cajeta, dulce de leche or caramel sauce


Recipe

1 Preheat oven to 350 degrees , grease brownie bar pan and set aside ( you can see a picture here)

2. Place a spoonful of cookie dough in the bottom in the bottom of your brownie pan.

3. Next sprinkle a handful of crushed pretzels, then a spoonful of cajeta, another spoonful of cookie dough, spoonful of cajeta and a final handful of crushed pretzels.

4. Bake for 12- 15 minutes, remove from the oven right before it's golden brown

5. Cool completely, than carefully remove from brownie bar pan, I like to lay down a piece of wax paper and turn my pan upside down and give a little tap on each cavity to assure easy removal from the pan.

Sunday, September 23, 2012

Mexican Challah Grilled Cheese

You may not know this but I'm a culturist......yea, I'm not quite sure if that is a "real" word or just a term that I invented in my head? Just in case this is purely made up my me, I will clarify a little bit about what I'm trying to say. 


I am very fascinated by different cultures, they intrigue me, I love hearing people talk about their lives spent and growing up in different countries. The things that they ate, the things they would never eat, but perhaps they do now because it's part of life here in America. I love hearing about the fiestas, parades and holidays that are celebrated at certain times within the year. For example, my oldest hija (daughter) came to me and demanded that I watch the new show on TLC called "Breaking Amish".


We sat there intently and watched as they illuminated there homes with hanging lamps activated by lighters, absolutely no electric appliances anywhere in sight. We listened as they spoke in awe of having ice made in a convenient machine that produces buckets full of ice on que, no need for them to wait for the " ice man" in order to make their purchase.  She and I questioning the fact that many of them spoke about being "shunned" just for having a video camera in town, both of us keeping tabs of how many times they each said the word.


The amount of times so significant that we decided " being shunned" on their fear scale was the equivalent of the terror we would feel if we went to the bathroom in the middle of the night on Friday the 13th.  Looking in the mirror as your washing your hands then seeing Freddy Kreuger's knife ridden hand lunging at you, out of shear panic you loose your balance fall backwards into the shower right into Mike Meyers arms!......, soooo maybe this is just a little bit over dramatic but a horrendous thought none the less! 


Alright, so back to the show.... by the time the end credits rolled, both of us took a look at each other and said" Let's be Amish"! Obviously we weren't serious......we equally like modern conveniences way too much, and were not ready to trade in our skinny jeans for long black wool skirts. 

However, where some may shy away from these type of experiences, not so willing to openly accept anything different from their own "norm". I run to the experience, to the newness the difference the opportunity to see the world with different eyes and maybe learn a few new things all at the same time. 


Last weekend their were two big cultural holidays: Rosh Hashanah- the beginning of Jewish new year and El Dia de Indpendencia ( Mexican Independence Day)- Mexico's celebration of their independence from Spain.  I have amigos queridos ( dear friends) from both cultures that tell me so much about how they celebrate these days. Their stories influenced me to make a little something of my own inspired by los dos culturas ( both cultures).


It's an avocado, queso fresco, tomato grilled cheese with spicy chipotle mayonessa, I used Challah bread ( a Jewish braided bread, eaten on the Sabbath and during holidays), and all the colors in the middle of the bread represent the colors of the Mexican flag. 


Coincidentally, the idea for this sandwich came just in time for the I Heart Cooking Clubs entry of the week, which included recipes from Ricky Bayless which would be great to have in your lunch box on the go! This one is Perfecto ♥

Viva Mexico &  Shabbat Shalom ♥


Ready for another recipe easy as: uno, dos, tres? .....Well here it goes!


Adapted from this Rick Bayless recipe, I think next time I may add a little chorizo and a few black beans to make it even more of a Mexican Grilled Cheese de verdad!
Ingredients

loaf of Challah bread
1 ripe avocado
queso blanco or chihuahua cheese
1 tomato
1/2 cup mayonnaise
1 tbsp of adobo sauce
2 chipotle chiles in adobo sauce
2 tbsp of butter

Ok, primero (first) the recipe for the Chipotle Mayonnaise

Directions

  1. In a food processor or blender, combine the mayonnaise, chipotle chilies, and adobo sauce. Pulse until smooth and well blended. Store in the refrigerator until needed


Ahora (now) the sandwich!


1. Slice your avocados, tomatoes and your cheese, set aside on a plate nearby

2. Heat your non-stick skillet to 325 degrees

3 Cut two slices of Challah bread, be careful not to cut them to thick or it will be more difficult for the heat to get to the insides to melt the cheese before the bread browns. Lightly butter the outside of the both slices of bread with butter.

4. Next, place one side of bread butter side down in skillet and stuff with avocado, tomato and your cheese. At this time you can take out your Chipotle Mayonnaise and spread some on your other slice, then place on top of your sandwich.

5. Cook on each side until cheese is melted and bread is golden brown ( my cheese didn't melt, queso blanco has a taste like mozzarella but it doesn't melt the same, if you want a melting cheese you can use chihuahua cheese) slice and Disfrutalo! Enjoy ♥


Monday, September 17, 2012

Maple Bacon Honey Buns

Bacon.....ohhh Bacon, just the name alone is enough to get my taste buds tingling. I need to let you in on a little secret........ I am a breakfast meat snob. I attribute it to my teenage years when I almost went totally vegan.  It all started when I decided that I was over the whole idea of eating a sweet little brown cow( or even any animal for that matter), using him for his tender loins,  top round and skirt steak.

I even sent my mother to the store armed with a list of things from my new no egg, no meat, no dairy product diet. It took me about from the time she left, to the time she arrived with my value-sized box of Boca burgers to realize  all that becoming a vegan really entailed.


That meant no more honey-bbq chicken wings, pork fried rice, bye-bye to the sausage on my cheesy hot pizza, no more fluffy scrambled eggs with bright orange strips of Velveeta cheese ( I know half of this stuff is not even part of a solid food group, but hey I was a teenager I enjoyed it while I could!).....But the cosa mas importante ( the most important thing) was that I would no longer be able to enjoy my sweet, hot crispy strips of sizzling maple bacon with my fluffy stack of pancakes.


Like I said before I am an absolute breakfast meat snob...so no other sausage patty, ham slice, pork roll or canadian bacon would ever, ever do. My one and only, my numero uno breakfast meat is Bacon, sweet, crispy, lovable bacon!


And I honestly was not at all ready to sever my relationship with it, so I sent my mother back to the store with all my vegan requests,thankful that I had one of those extra-sweet mom's who was happy to support her teenage daughter during her moments of teenage angst! 


With that said these maple bacon honey buns remind me of the time that I had sworn off  all animal proteins, they are made with all things anti-vegan. They are syrupy sweet,crunchy crisp bites of cinnamony bacon heaven, puro deliciosoness ( not a real word in English or Spanish, but still appropriate for how good they taste)♥

If I were to ever have any doubts or trouble coming to terms with staying a card carrying meat eater,one bite of these honey buns would be enough to restore my faith that I made the right decision.


Ingredients


<

6 slices maple bacon, cut crosswise into 1-inch pieces
1/4 cup maple syrup
1/4 cup packed light brown sugar
can   (16.3-ounce) refrigerated biscuits,  I used Pillsbury Honey Butter Flaky Golden Layers
1/2 teaspoon ground cinnamon

One can makes 8 Maple Bacon Honey Buns

Directions

1.Heat oven to 350 degrees F. Heat a medium skillet over medium heat. Add the bacon and cook, stirring occasionally, until it begins to brown, 3 to 4 minutes. Using a slotted spoon, transfer to a paper towel–lined plate. Or you can also use the super easy way and place the bacon on a microwave safe plate lined with a paper towel. Cook for a minute per slice ( ex -4 min for 4 slices of bacon)


2.Meanwhile, in a medium bowl, combine the maple syrup and brown sugar. Stir in the bacon and divide among 8 muffin cups ( my chica had a great idea of putting a little bacon on the inside of each biscuit before baking) I think that's a great idea too!

3.Place the biscuits on a sheet of wax paper and sprinkle both sides with the cinnamon. Place biscuits over the bacon mixture in each of the cups, gently pressing to fit.

4.Bake until the biscuits are golden brown, 18 to 20 minutes. Remove from oven and immediately invert onto a baking sheet. Let cool for 5 minutes before serving


Wednesday, September 12, 2012

True Amor-Heart Shaped Pancakes

I was always the kind of girl who loved everything whimsical, I had almost every kaleidoscope colored sticker Lisa Frank ever made. I always picked out the notebooks that had brilliant rainbows with fluffy white clouds on the ends with sprinkles coming down from the imaginary bright blue sky.


During school I would love when the teacher gave us free time to draw what we wanted, I look back now and I laugh at the thought of me rushing to get out my fresh piece of manila paper. As I carefully drew the lines to my latest creation, each stroke carefully aligned.  Although I paid great attention to every detail the end result was always the same.


A giant waffle cone with three scoops of ice cream, always three, never one or even two always three! Each scoop would get increasingly larger as they got closer to the cone, I would accent each creamy scoop with every pink, orange, yellow and lime green colored sprinkle Crayola had to offer me. On top would always be a plump fire-engine red cherry with a far-reaching chocolate brown stem. 


As I grew older my love for all things whimsy never faded it actually became more diversified. While in high school I was assigned to a freshman Spanish class with a Profesora who absolutely adored her job, but loved seeing her students absorb the language just as much,


It was during this time that my "like" for the Spanish language became a "love"!   Now instead of just" whimsical things", I now was in love with "whimsical words...but only in Spanish.


Every time I would hear them my ears would perk up, sweetheart was now Corazon, my love translated to Carino and there was no more love, just pure Amor. I mean come on seriously the chica in the Kahlua commercial was right, everything sounds so much more intriguing in Spanish.


So needless to say when I was shopping this weekend and I came across this heart-shaped pancake mold I was totally Enomorada! (in love)


No better way to show your love than with food, and no doubt as soon as you sit these cute little whimsical hearts in front of someone you love, without any words they will know just what you mean.  So I present to you a little bit of my "Amor", pancake style of course!


Ingredients
  • 1 1/2 cups all-purpose flour
  • 3 1/2 teaspoons baking powder
  • 1 teaspoon salt
  • 1 tablespoon white sugar
  • 1 1/4 cups milk
  • 1 egg
  • 3 tablespoons butter, melted
 
Directions

I actually used a heart shaped pancake mold that I found in the department store. it was just like a cookie cutter except it had a little knob to turn the pancake over.

I found that most of the time I didn't even use it, I used the spatula so I figure a metal cookie cutter could be used just the same.

                   
In a large bowl, sift together the flour, baking powder, salt and sugar. Make a well in the center and pour in the milk, egg and melted butter; mix until smooth.                                   


Heat a lightly oiled griddle or frying pan over medium high heat. Pour or scoop the batter into the pancake mold or cookie cutter, just to the middle of the cutter.

Overflow will cause it become a little misshapen, when you see little bubbles forming in the middle, check to see if the pancake is ready. I like mine at a  light to medium brown on both sides. When they're done butter em up serve and Enjoy! ♥

Saturday, September 8, 2012

I Ain't Afraid of No Ghosts- Halloween Cake


Now that the long awaited, often feared 2012 "first day of school" has seamlessly come and gone, it's inevitable that the holidays are not far behind. For many of the big name stores the holidays have already arrived. I couldn't help but think twice about picking up  a great big package of neon green and black swirled gummy worms. 


I am always impressed with the new candy ideas that are introduced every year. So far I've seen candy corn in cool Halloween colors like green, black, purple and white, jack o' lantern shaped Snickers and even Cadbury eggs filled with slimy, green goo.  I have to be honest though, I do love the colors, decorations and of course the candy that comes with Halloween, but with my enthusiasm comes a few drops of apprehension.


I think it goes back to my younger days, when children were warned of being kidnapped by creepy men in unmarked white vans, lurking in the shadows waiting to snatch up unsuspecting little boys and girls on freezing cold and dark Halloween nights.


If you were lucky enough to make it home without being abducted, your mother would be peeking through the blinds awaiting your footsteps through the front door.  Before you could even utter a "hello" she would be snatching your trick or treat bag from your cold hands, telling you that "she had to go through every single piece" presumably with a fine tooth comb.


Because according to recent news reports, there were evil  child hating people who were putting razor blades into sweet chocolaty candy bars meant to harm sweet faced little boys and girls like me and my friends. Ahh the children of the 80's what stories we have to tell!


Okay so fast forward to modern day 2012, I've obviously made it through at least 20 Halloween's or maybe....just a few more (ahem) without being kidnapped or having had my throat cut to shreds by a Milky Way. But now I am the mom, and although I don't riddle my chicas with scary stories that make them feel like they are part of a blood curdling episode of  RL. Stines" The Haunting Hour" ( which is a great series by the way),


I do feel that walking in the chilly fall air, in lightweight costumes dodging speeding cars and receiving the occasional sandwich bag filled with homemade chocolate chip cookies from the  creepy single guy in the barely lit house on the corner ( seriously, obviously it's often times meant to be a sweet gesture,  but who would ever eat something unwrapped and unmarked made by a complete stranger?! It's so much easier to pick up a bag of smarties or whatever!) doesn't really seem like my brand of fun.


Honestly, most of the time about 30 minutes into walking the neighborhood my chicas are ready to call it quits, and 3 weeks later I am pulling their candy bags from underneath their beds still 3/4 of the way full!  Obviously they don't take after me, because when I was little by week 3 I would be down to the Mary Janes and I usually was still feening candy and I was desperate enough that even they would get a few nibbles! My candy obsession really borders along the lines of addiction ( at least for chocolate).


So instead of traveling the cold mean streets on Halloween nights, I've decided to keep the day of "candy love" a little more centralized and cozy with a fiesta for them and their friends at home.  This ghost cake is the perfect mix between spooky and sweet, exactly what kids want on Halloween night!


Ingredients

Vanilla Cake & Cupcakes
1 box of Wilton fondant
Butter Cream
1 package of gummy worms
1 bag of candy corn
Oreo cookies or chocolate cake crumbs
assorted chocolates and Halloween candies

Recipe


♥To make this cake you will need a Wilton doll pan, which may be available at  your local Micheal's or I also found one here.   You will also need a sturdy base for the cake, I like to use the Wilton silver circle cake board which is pretty sturdy and also leaves space for the cupcakes to go around the edges. 


♥For the cake you can use your favorite yellow or chocolate cake recipe, Here is one. that sounds pretty yummy!  For a quicker option you can use a box mix, either one I suggest you make 2 batches. Because you will need enough batter for the cake and the cupcakes. ( You may want to bake an extra 8' round cake to go below the top portion, depending on how many guests you will have)

♥Once you've chosen and prepared your batter, fill the doll mold only 3/4 full with batter, the batter will rise during baking if you fill it too high you will have overflow. After the cake is baked, move on to making thecupcakes ( however many you need, at least enough to go around the ghost).

♥Before icing the cake make sure it's completely cooled, I like to stick my cake in the freezer for about an hour so that it is nice and stiff before I ice it and put on fondant.

♥When  the cake is cooled, ice the cake in your favorite butter cream or frosting recipe.  I like a whipped butter cream, like this one because I don't like a sickening sweet, heavy butter cream. Make sure the cake is completely covered in butter cream, so that the fondant attaches completely.

♥Break 4 kabob sticks in half and you can either place large campfire marshmallows or balls of fondant on the ends. I like to put 2 kabob sticks together on either side of the ghost, to give more security and stability to the ghosts arms.

♥After the cake is iced it's time to roll out enough fondant to cover the entire cake and hang down the sides like a ghosts sheet. The fondant doesn't have to be perfectly smooth at the bottom, it can be gathered or gently folded along the bottom to resemble a ghosts sheet.

♥Next, dye a ball of fondant black enough so that you can make the ghosts' eyes, mouth and eyebrows, pull off pieces of fondant and hand mold them into the eyes, mouth and eyebrows. Put just a dab of water on the back and apply to the ghosts face wherever you like.

♥You can either swirl or simply ice the frosting onto the surrounding cupcakes, then sprinkle them with either crushed Oreo's or chocolate cake crumbs. Place gummy worms on each cupcake, place them around your ghost than sprinkle the base with candy corn, Snicker bars, Skittles, Three Musketeers etc, etc

Finally, make or print up mini signs and glue them onto toothpicks with whatever ghoulish message that your heart desires ♥

Oaxaca Quesadilla Pie

I have never been one to seek out savory desserts, something about the sound of  tomato cheesecake and green pea honey ice cream that evokes that familiar look of distaste that forms on the face of a picky five-year old when you sit a chopped liver and onion sandwich on rye bread with a side of broccoli filled Brussels sprouts, and a great big glass of V8 to wash it all down.


Yeah, do you see how that sounds?! Okay, so you will understand why, I will always pass on Great-Aunt Martha's Swiss Chard, Raisin & Pine Nut Tart.


Recently, I came upon a cute little mini pie maker and made these amazing mini Mexican Apple Pies, but honestly I haven't touched it since.  Last weekend my middle chica was asking for tacos for breakfast, now of course I love my Mexican food....but just not at 8:30 in the morning.

I took a peek in the fridge and I did have tortillas,Mexican cheese and pico de gallo salsa, then it came to me that this was the momento perfecto to give my new pie maker another try. So that's exactly what we did, and came up with these tempting little Quesadilla Pies.

The creamy taste of the hot ooey gooey cheese, the tang of the spicy pico de gallo salsa and the crisp bite of the tortilla was enough to give me a little hope for a new relationship with savory desserts! Well....... at least a fond relationship with Quesadilla Pie, it's going to take a lot more time to get me to eat a Tomato Cheesecake...yuck!♥

This pie was super easy to prepare and so quick to make, a perfect on the go breakfast. My chica at one point even stopped using her fork and started taking bites right to the pie, think of it as a bigger and cuter hot pocket.  A dollop of sour cream on top of the pie,assures every bite will receive some of the creamy stuff!


Oh btw, Heather over at girliechef is hosting a Bake Your Own Bread Event, which features bloggers and all their yummy bread recipes.Technically I didn't bake these tortillas myself, but tortillas definitely are part of the bread familia and these pies are way too delicious not to share!   I will though put homemade tortillas on my " to do list", until then here is the recipe for pure yummy!

Ingredients

Goya Pico de Gallo Salsa or any other great tasting salsa
Oaxaca cheese or mozzarella cheese
1 package of flour tortillas
sour cream


Recipe

♥ Cut Oaxaca cheese into shreds using a grater so that it can be easily sprinkled into the tortilla molds


♥ Cut tortillas into large and small circles using the dough circles or you can even use circle cookie cutters, just make sure they are a sufficient size to keep the contents inside. Also this is the time you can cut a shape into the top of the tortilla (like a star)32. I heated up my tortillas in the microwave for about 45 seconds to make them soft enough to push down into the pie molds. 

♥ Place pie bottoms into each mold ( these should be the larger of the 2 circles) fill each tortilla bottom with

♥ Heat pie maker, when ready  sprinkle in alternating layers of cheese and salsa, (light on the salsa, a little goes a long way) pile the salsa and cheese high enough so once the top tortilla is placed on top, it's high enough so that it will reach the top of the mold, but not so full it will ooze out the sides.

♥ Once the tortilla is filled, place the smaller tortilla on top, ( I like to spread mine with a little butter on top) close the lid and wait for the green light when ready.

♥. Once all the pies are down, add a spoonful of sour cream grab a fork and Enjoy!

Sunday, September 2, 2012

Strawberry Paletas

I really can't get enough of popsicles, they truly are for me one of the most refreshing ways to beat the summer heat.  Whether you are the type that likes to enjoy your icy cold treat by licking the sides and lapping up the sweet liquid before it hits the burning hot pavement.


Or if you are my type, the kind of person that likes to take big ole' bites of frozen goodness and savor the frigid chunks in your mouth , twisting it around with your tongue,  manuvering it cheek to cheek so that you can avoid the ever feared brain freeze.  Oddly, I can not stand to have chunks of anything in my drink, orange juice with pulp is forbidden in my house. 


As good as the Nantucket Nectar juice looks and tastes, I just can't get over the fleshy bits of fruit that stare up at me every time a take a drink.  However fruit in my paletas, or popsicles are a staple that I look forward to finding. I eagerly take big bites and wait for the moment my teeth bites into that perfectly chopped piece of frozen fruity heaven.


It's like a treat within a treat, plus I always convince myself that these type of paletas are so totally healthy because they are filled with fruit and basically just a teensy bit of sugar (well actually a lit more than teensy, but you know what I mean!) 


And for these reasons I am totally enomorada ( in love) with Mexican Paletas, many of the recipes include chopped fresh fruits like, mangoes, pineapples, watermelon, strawberries of course and even creamy chunks of avocados. fresh water, and sweet azcucar ( sugar).


What could be better than that?! So as the summer closes and your looking for a sweet summin, summin' for the last BBQ of the summer aka " Labor Day.Why not whip up some of these dulce paletas! And reminsce over those fleeting summer days. ♥


You will need a popsicle mold or you can use paper cups and popsicle sticks like I did.

Yields 6 Strawberry Paletas

Strawberry Paletas

Ingredients

3  3/4 cups of hulled strawberries

1/3 cup of sugar

1 tbsp lemon juice

Directions:
In a blender, blend  3 3/4 cups of  rinsed, hulled strawberries until smooth. Push through a fine
strainer into a 2-cup glass measure; discard residue. Add 1/3 cup sugar and 1 tablespoon lemon juice
to berry purée; stir until sugar is dissolved.

Pour paletas mixture equally into 6 juice bar molds. Attach covers. Insert sticks, leaving 1 1/2 to 2 inches of each exposed. Freeze paletas upright until firm, at least 3 hours or up to 2 weeks. 


01 09 10